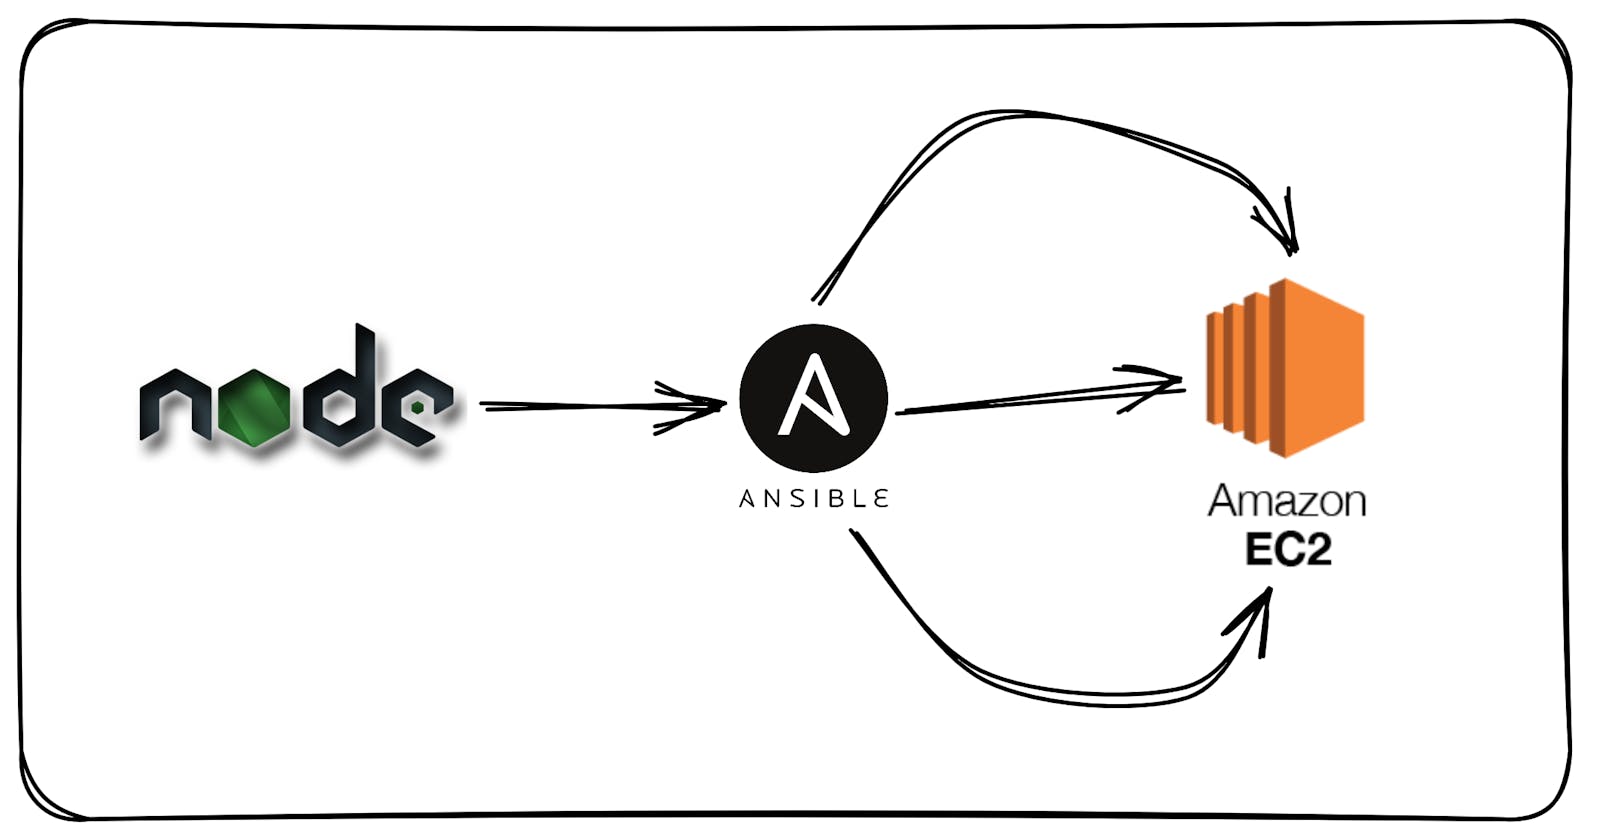
Your 1st Ansible Project - Node-App-Deploy
This blog is specialized for anyone who is just getting started with ansible and want to create his 1st project with this tool.


Table of contents


No headings in the article.
Prerequisite
AWS Account (Free Tier will work)
Must have own artifact of application in .tar.gz format
Install Ansible on your controller(On which you are going to run the ansible ad-hocs command and play-books)
VSCode Editor
1st setup environment in VScode for ansible -
Install and download the latest version: https://code.visualstudio.com/download
Set up the environment by creating files: playbook.yaml, hosts in a folder
Note: -Before you start your work with ansible it is always a best practice to create .txt file in which you mention all the steps which can be done manually so that we can automate with the help of ansible easily.
it could look like this
Update apt repo and cache
Install nodejs and npm packages using apt
Create a user specifically for running nodejs app on the server
Coping artifacts from local machine to server and unarchiving it (2 ways)
Installing nodejs library for project
Running nodejs application “node server.”
Checking the status of the application using ps cmd
First Install Node and NPM:
Installation of npm and node complete play
  - name: Install Node and npm
    hosts: all
    become: yes
    become_user: root
    tasks:
      - name: update apt repo and cache
        ansible.builtin.apt: update_cache=true  force_apt_get=yes cache_valid_time=3600
      - name: Install nodejs and npm
        ansible.builtin.apt:
          pkg:
            - nodejs
            - npm
Let's Understand each step by step:
Remember to write names, hosts, and tasks whenever you are creating a new play.
anisible.builtin.apt: Here firstly we update the repo and cache of apt.
Then We install Nodejs and npm packages from the apt package manager.
In this case, we are configuring an AWS ec2 instance(t2.micro) so it is important to become to root because AWS does not allow an unprivileged user to execute some command.
So, make sure to add "become: yes" and "become_user: root"
there are different ways to write syntax to install the package with apt package manager instead of pkg we can replace it with apt.name and apt.state.
- name: Deploy nodejs app
  hosts: all
  become: True
  become_user: root
  vars_files:
    - project-vars
  tasks:
    - name: Unpack the nodejs file
      ansible.builtin.unarchive:
        src: "{{location}}/nodejs-app-{{version}}.tar.gz"               # nodejs-app-{{version}}.tar.gz <- is my application tar file make sure you have your own one.
        dest: "{{user_home_dir}}/"
    - name: Install dependencies
      community.general.npm:
        path: "{{user_home_dir}}/mynodeapp-cicd-project/app/"
    - name: Start the application
      ansible.builtin.command:
        chdir: "{{user_home_dir}}/mynodeapp-cicd-project/app"
        cmd: node server
      async: 1000             #this make task asynchronous which means it will be running in backgroud and our playbook task will be continued.
      poll: 0
    - name: Ensure app is running
      ansible.builtin.shell: ps aux | grep node
      register: app_status
    - ansible.builtin.debug: msg{{app_status.stdout_lines}}
Second Step to deploy Nodejs App
Create New Play with the name: Deploy nodejs app and configure the user as "root" and set "hosts: all" (which means configure all hosts which are in "hosts" file) we will "hosts" file ahead.
We will use "vars_file: project-vars" as a variable file that consists of variables to store some secret and important values.
Then create tasks by first unarchiving using ansible.builtin.unarchive and uploading to the remote machine by specifying the source i.e path of a file stored in the local machine to a destination which is the path to store files on a remote server.
Now Install dependencies from package.json which specifies the path in community.general.npm: "path".
ansible.builtin.command: using this we can run commands on the remote server when the playbook will be executing. So first change the directory and then run "node server" server is a server.js file.
Then we specify the async and poll with some value so that it will run the server script in the background without taking control over the terminal.
Now our server is ready active and running but if we want to know such information without going inside/logging in server we can fetch some data for such information.
So, Here we use "register" functionality because register basically helps store output data of that particular task. can we can easily see the output by using debug=msg{{<valuesetforregister>}}
That's it here we cover over entire playbook of ansible.
Creating "hosts" and "project-vars"
hosts
43.204.23.171 ansible_ssh_private_key_file=/home/bhavesh/devopsProject/linux-machine.pem ansible_user=ubuntuproject-vars
  version: 1.0
  location: <Path to your Ansible Confguration>
  linux_name: <Username>
  user_home_dir: /home/{{linux_name}}
Here we end this blog, things we cover:
Update apt repo and cache
Install nodejs and npm packages using apt
Create a user for specific for running nodejs app on the server
Coping artefact from local machine to server and unarchiving it (2 ways)
Installing nodejs library for project
Running nodejs application “node server.”
Checking the status of the application using ps cmd
Here is repo for this project: https://github.com/Bhavesh-Muleva/Learning-Ansible
Thanks for Staying till the end !!!
Connect with me on:
LinkedIn- https://twitter.com/BhaveshMuleva
Twitter- https://www.linkedin.com/in/bhavesh-muleva-68015b1b9/